Hello all! So summer in Arizona is miserable for makeup… Keeping it simple is what I recommend – then you don’t end up with your makeup completely melted off, and even if it melts off a bit, it’s not as noticeable and you can touch it up. The most important thing is to get a good foundation that will last all day, even through the sweltering heat. But it is more than that, since all of your makeup works together. So here I put together a walk-through of my current summer foundation/face routine.

Ingredients!
Step One: Primer

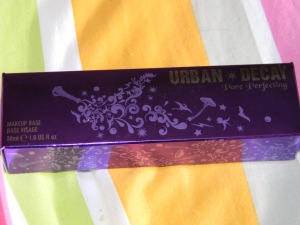
Urban Decay Pore Perfecting Primer Potion
This isn’t a primer for everyone, since it does contain silicone which can cause breakouts, but I do like how it fills in my pores and makes them appear minimized. Some people feel that primers are unnecessary, since they already put on a moisturizer, but it really depends on the condition of your skin and the type of primer you use. If you use heavy moisturizer and don’t have large pores, using a silicone-based primer may actually hurt the lasting power of your foundation. However, if you use the correct moisturizer and the right formula of primer, your foundation can last at least 8+ hours! During the summer, I notice a definite difference in the appearance of my pores if I don’t use primer on my t-zone. When I use this primer, they are far less noticeable.
Step Two: Foundation
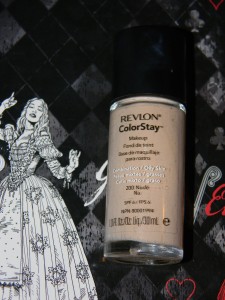
Revlon ColorStay Combo/Oily 200 Nude

Revlon ColorStay Combo/Oily 200 Nude Swatch
Revlon ColorStay foundation is my favorite foundation of all time, and trust me, I’ve tried a lot of foundations. Revlon even made this highly-pigmented, long-wearing foundation in formulas for both Dry and Oily/Combination skin. I use the Oily/Combination formula and it’s never made me break out. The only drawback to this foundation is that it dries pretty quickly, so I apply it to one area of my face with a foundation brush, blend it out with my Sephora #55 brush, then move on to the next area and repeat. Once it dries, this foundation doesn’t really go anywhere for the rest of the day. Perfect for summer!
Step Three: Concealer

Dream Mousse Concealer (Light 2-3.5)
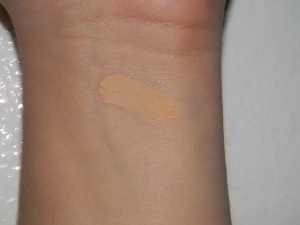
Dream Mousse Concealer (Light 2-3.5) Swatch
I love this concealer (As you can see, I’m almost out of it!) because it is really opaque – it covers up blemishes like nobody’s business – and it stays on all day. Because it’s in a pot, make sure your fingers are clean or use a brush, so you don’t get bacteria in there. Also, because this is a mousse, it’s ‘whipped’ in consistency, so you will need to blend it out a little when you apply it, since it’s thicker than a liquid concealer.
Step Four: Cream Blush

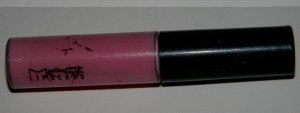
M.A.C. Sweet William Blushcreme Pearl

M.A.C. Sweet William Blushcreme Pearl Swatch
Ever heard that cream blush makes powder blush last longer in the summer months? Well, I’m happy to say it’s true! Apply it over your foundation (I don’t recommend applying it over powder foundation) with a stippling brush, slowly building the color; once you put on too much cream blush, it’s very hard to blend it out. So build it up to a medium-intensity – just a bit lighter than you want your blush to be in the end, since you’re going to apply powder blush over this later. After you’ve got the cream blush applied, set it with a little bit of loose powder (I use Maybelline Shine Free Loose Powder in Light 01) so that your powder blush will be easier to blend over it.
Step Four: Pressed Powder
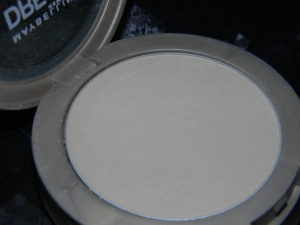
Dream Matte Powder (Sand Medium 0-1)
I’ve used up so many of these Dream Matte Powders! This is the one pressed powder that keeps my skin from looking oily all year long. The best trick to applying powder that I’ve learned is to take it on a powder brush and press/roll the powder into your skin. This will really set your foundation in the areas you need it to (for me, that area is the t-zone!), and then you can just brush the powder over the rest of your face.
Step Five: Powder Blush
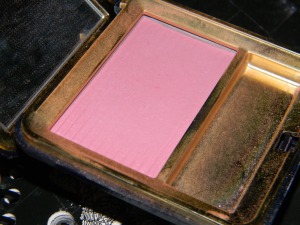
Estee Lauder Signature Silky Powder Blush (01 Tender Petal)
Brush your powder blush over the cream blush, patting the color on and then blending it out. Remember you won’t need as much color since you already have the color of the cream blush, too! This will fully set your blush, and give you the perfect flush. Doing your blush in this order will make it last!
Step Six: Contour/Bronzer
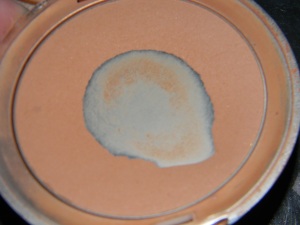
Stila Bronzer (Shade 01)
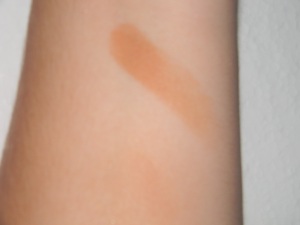
Stila Bronzer (Shade 01) Swatch
I hit pan on this matte bronzer (as you can see from the picture), but there’s still plenty of it left. It’s the one shade that goes perfectly with my skin in the summer and the winter. It has never looked orange or dingy on me, like some bronzers can, and it doesn’t make me look oily (like shimmery bronzers do during the summer). I use this to contour, placing it in the hollows of my cheeks, temples, beneath my jaw line, and then blend it out so it follows the perimeter of my face for a nice slimming (yay!) and bronzing effect.
So there is my summer foundation routine! I hope it helps you during the hot days of summer. 🙂
❤ Tia
Tags: concealer, cream blush, mac, matte powder, maybelline, oily combination skin, revlon colorstay foundation 200 nude, staying power, summer makeup, sweet william blushcreme pearl, urban decay pore perfecting primer potion

